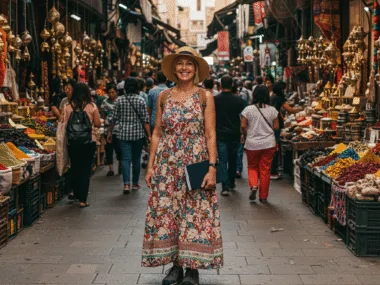
Dreaming of strolling through New York City’s vibrant streets or marveling at the Grand Canyon’s vast beauty? Getting a travel visa to the USA can feel like navigating a maze, but you don’t need an agent to make it happen.
With the right steps, a bit of patience, and this comprehensive guide, you can secure your US travel visa in 2025 without breaking the bank or losing your sanity. This article is your go-to resource for a hassle-free, agent-free visa application process, packed with practical tips. Let’s dive into the step-by-step guide to help you plan your American adventure with confidence.
Why Apply for a US Travel Visa Without an Agent?
Hiring a visa agent can cost hundreds of dollars, and there’s no guarantee they’ll speed up the process or improve your chances. The US visa application process is straightforward if you follow the official guidelines, and doing it yourself saves money while giving you full control.
In 2025, the US Department of State’s online systems are more user-friendly than ever, making it easier for travelers to apply directly. Plus, you’ll gain valuable know-how for future applications. Whether you’re planning a vacation, a business trip, or a visit to family, this guide covers everything you need to secure a B-1/B-2 visitor visa without an agent.
Understanding the US B-1/B-2 Visitor Visa
The B-1/B-2 visa is the most common non-immigrant visa for travelers to the USA. The B-1 visa is for business purposes, like attending conferences or meetings, while the B-2 visa covers tourism, family visits, or medical treatment. Most applicants receive a combined B-1/B-2 visa, valid for up to 10 years, allowing multiple entries with stays of up to six months per visit. Knowing the visa type and requirements is the first step to a successful application.
Key Eligibility Criteria
- Valid Purpose: You must have a clear reason for your trip, like tourism or business.
- Ties to Home Country: Prove you’ll return home with evidence like a job, family, or property.
- Financial Stability: Show you can cover your trip expenses.
- No Immigration Intent: Convince the embassy you won’t overstay or seek permanent residency.
Step-by-Step Guide to Applying for a US Travel Visa Without an Agent
Follow these steps to navigate the US visa application process with ease. Each step is designed to be clear, actionable, and optimized for success.
Step 1: Determine Your Visa Type
Before diving in, confirm that the B-1/B-2 visa suits your travel plans. Visit the official US Department of State website (travel.state.gov) to review visa categories. If you’re from a Visa Waiver Program (VWP) country, you might qualify for an ESTA (Electronic System for Travel Authorization) instead, which is quicker and cheaper. However, ESTA is only for stays up to 90 days and doesn’t apply to all nationalities. For non-VWP countries, the B-1/B-2 visa is your go-to option.
Tip: Use the Visa Wizard tool on travel.state.gov to confirm your visa type. It’s free and user-friendly.
Step 2: Gather Required Documents
Preparation is everything. Collect these essential documents before starting your application:
- Valid Passport: Must be valid for at least six months beyond your planned US stay.
- Digital Photo: A 2×2-inch photo meeting US visa photo requirements (white background, neutral expression).
- Proof of Ties: Documents like employment letters, property deeds, or family ties to show you’ll return home.
- Financial Evidence: Bank statements, pay stubs, or sponsor letters proving you can fund your trip.
- Travel Itinerary: Flight bookings, hotel reservations, or a planned itinerary.
- Invitation Letter (if applicable): For family visits or business trips, a letter from your host can strengthen your case.
Tip: Scan all documents and save them digitally for easy upload. Keep physical copies organized for your interview.
Step 3: Complete the DS-160 Form
The DS-160, or Online Nonimmigrant Visa Application, is the heart of your visa application. Access it on the Consular Electronic Application Center (CEAC) website (ceac.state.gov). This form collects your personal details, travel plans, and background information.
How to Fill the DS-160
- Start Early: The form can take 60–90 minutes to complete. Save your progress with the application ID.
- Be Honest: Provide accurate details about your travel purpose, employment, and travel history.
- Upload Your Photo: Ensure it meets specifications to avoid delays.
- Review Carefully: Double-check entries before submitting, as errors can lead to rejection.
After submission, you’ll receive a confirmation page with a barcode. Print this page—you’ll need it for your interview.
Tip: Write down your DS-160 application ID and security question answer in case you need to retrieve your application later.
Step 4: Pay the Visa Application Fee
The non-refundable visa application fee, known as the Machine Readable Visa (MRV) fee, is $185 for B-1/B-2 visas in 2025. Payment methods vary by country, so check your local US embassy or consulate’s website for options (e.g., bank transfer, credit card, or cash at designated locations).
- Save the Receipt: You’ll need the receipt number to schedule your interview.
- Check Exemptions: Some countries have reciprocal agreements that lower or waive fees, but this is rare for B-1/B-2 visas.
Tip: Pay through the official US embassy website or authorized payment centers to avoid scams.
Step 5: Schedule Your Visa Interview
Most B-1/B-2 visa applicants aged 14–79 must attend an in-person interview at a US embassy or consulate. Book your appointment through the US embassy’s official scheduling system (usually via ustraveldocs.com).
How to Schedule
- Log In: Use your DS-160 confirmation number and fee receipt number.
- Choose a Date: Pick a convenient time, but book early as slots fill up quickly.
- Select a Location: Choose the nearest US embassy or consulate. Some countries have multiple locations.
Tip: Check for visa appointment wait times on travel.state.gov, as some consulates have longer delays in 2025 due to high demand.
Step 6: Prepare for the Visa Interview
The visa interview is your chance to convince the consular officer you’re a genuine visitor. It typically lasts 2–5 minutes, so preparation is key.
How to Prepare
- Organize Documents: Bring your passport, DS-160 confirmation, fee receipt, photo, and supporting documents.
- Practice Answers: Be ready to explain your travel purpose, ties to your home country, and financial plans. Common questions include:
- Why are you visiting the USA?
- How long will you stay?
- How will you fund your trip?
- What ties do you have to your home country?
- Dress Professionally: Business casual attire shows respect for the process.
- Stay Calm and Honest: Answer clearly and avoid volunteering extra information.
Tip: Arrive 15–30 minutes early and leave prohibited items (e.g., phones, bags) at home or in a locker, as most embassies have strict security rules.
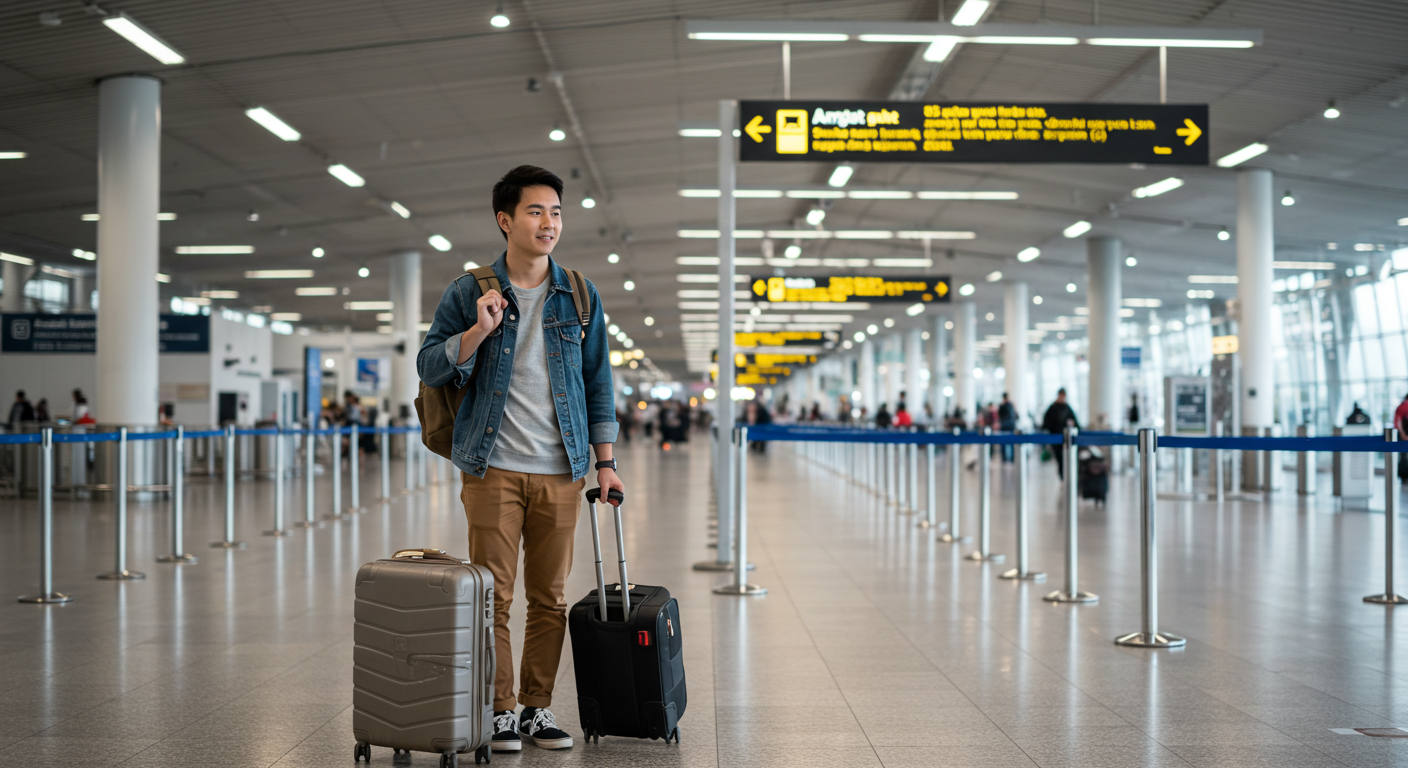
Step 7: Attend the Visa Interview
On interview day, stay calm and confident. The consular officer will review your DS-160 form, ask questions, and may request additional documents. They’re assessing whether you meet visa requirements and intend to return home.
- Be Concise: Answer directly and avoid rambling.
- Show Confidence: Maintain eye contact and speak clearly.
- Address Concerns: If asked about past visa denials or travel history, explain honestly.
After the interview, you’ll be told whether your visa is approved, denied, or requires administrative processing. Administrative processing can take weeks, so plan accordingly.
Tip: Don’t argue if denied. You can reapply with stronger documentation if needed.
Step 8: Track Your Application and Collect Your Visa
If approved, your passport with the visa sticker will be returned to you, usually within 7–14 business days. Track your application status on the CEAC website using your DS-160 barcode. Some embassies offer courier delivery, while others require pickup at a designated location.
- Check Details: Ensure your visa type, validity, and personal details are correct.
- Plan Your Trip: Book flights and accommodations only after receiving your visa to avoid losses.
Tip: Keep digital and physical copies of your visa and DS-160 confirmation for travel.
Common Mistakes to Avoid
Even small errors can derail your visa application. Here’s what to watch out for:
- Incomplete DS-160: Missing or incorrect details can lead to delays or rejection.
- Weak Ties to Home Country: Failing to prove you’ll return home is a common denial reason.
- Inconsistent Information: Ensure your DS-160, documents, and interview answers align.
- Ignoring Embassy Instructions: Each consulate has specific rules for payments and interviews.
- Overloading Documents: Bring only what’s relevant to avoid confusion.
Tips for a Successful US Visa Application in 2025
- Start Early: Begin 3–6 months before your trip to account for delays.
- Use Official Resources: Stick to travel.state.gov and ustraveldocs.com to avoid scams.
- Be Transparent: Honesty about your travel history and purpose builds trust.
- Prove Financial Stability: Show bank statements or sponsor letters covering at least $100–$150 per day of your trip.
- Plan Your Itinerary: A clear travel plan strengthens your application.
- Consider Travel Insurance: While not required, it shows preparedness and covers unexpected issues.
Special Considerations for 2025
In 2025, the US visa process is more streamlined, but demand is high due to increased global travel. Here are some updates to note:
- Digital Enhancements: The CEAC portal now supports faster document uploads and status tracking.
- Interview Waivers: Some applicants (e.g., renewals or under 14/over 79) may qualify for interview waivers—check your consulate’s rules.
- Processing Times: High-demand countries like India, Nigeria, and China may face longer wait times for appointments.
- Sustainable Travel Focus: The US promotes eco-friendly tourism, so highlighting sustainable travel plans (e.g., eco-tours) can align with current trends.
Frequently Asked Questions (FAQs)
How Long Does the US Visa Process Take?
Processing times vary by country. Appointment wait times can range from 1–6 months, and visa issuance takes 7–14 days after approval. Check your consulate’s website for specific timelines.
Can I Apply for a US Visa Without a Sponsor?
Yes, a sponsor isn’t required. You just need to prove you can fund your trip with bank statements or income proof.
What If My Visa Is Denied?
If denied, you’ll receive a reason (e.g., weak ties or insufficient funds). Address the issue, gather stronger documents, and reapply. There’s no waiting period, but you’ll need to pay the fee again.
Is the Visa Fee Refundable?
No, the $185 MRV fee is non-refundable, even if your visa is denied.
Can I Use a Travel Agent If I Change My Mind?
You can, but it’s not necessary. Agents charge fees for services you can do yourself using official websites. If you choose one, ensure they’re reputable and avoid sharing sensitive information with unverified agencies.
Why Applying Without an Agent Is Empowering
Taking charge of your US visa application is more than just cost-saving—it’s empowering. You’ll learn the ins and outs of the process, gain confidence for future travels, and avoid relying on third parties. In 2025, the US Department of State’s clear guidelines and online tools make it easier than ever to go agent-free. Plus, you’ll have the satisfaction of knowing you navigated the system yourself.
Final Thoughts
Securing a US travel visa without an agent is entirely doable with the right preparation. From filling out the DS-160 to acing your interview, each step brings you closer to your American adventure. By following this guide, using official resources, and avoiding common pitfalls, you’ll boost your chances of approval while keeping costs low.
Whether you’re dreaming of exploring California’s coast, attending a conference in Chicago, or visiting family in Miami, your US visa is within reach. Start early, stay organized, and let 2025 be the year you conquer the USA, solo and stress-free. Ready to begin? Head to travel.state.gov, gather your documents, and take the first step toward your dream trip today!